HOMEBREW HAPPENIN'S | recipe
Super Cider Me!
A guest Homebrew Happenin’s recipe column by Adam Chatburn

I may be known for British style ales, but my real love lies in making cider. It’s a very different process but, luckily, much easier than making beer. Whenever anyone asks me about getting into brewing, I suggest they try cider first. It’s quick, easy, cheap, and shows the basic steps of sanitising and fermenting. If you have the equipment for beer, you basically have the equipment for cider, so let’s get started.
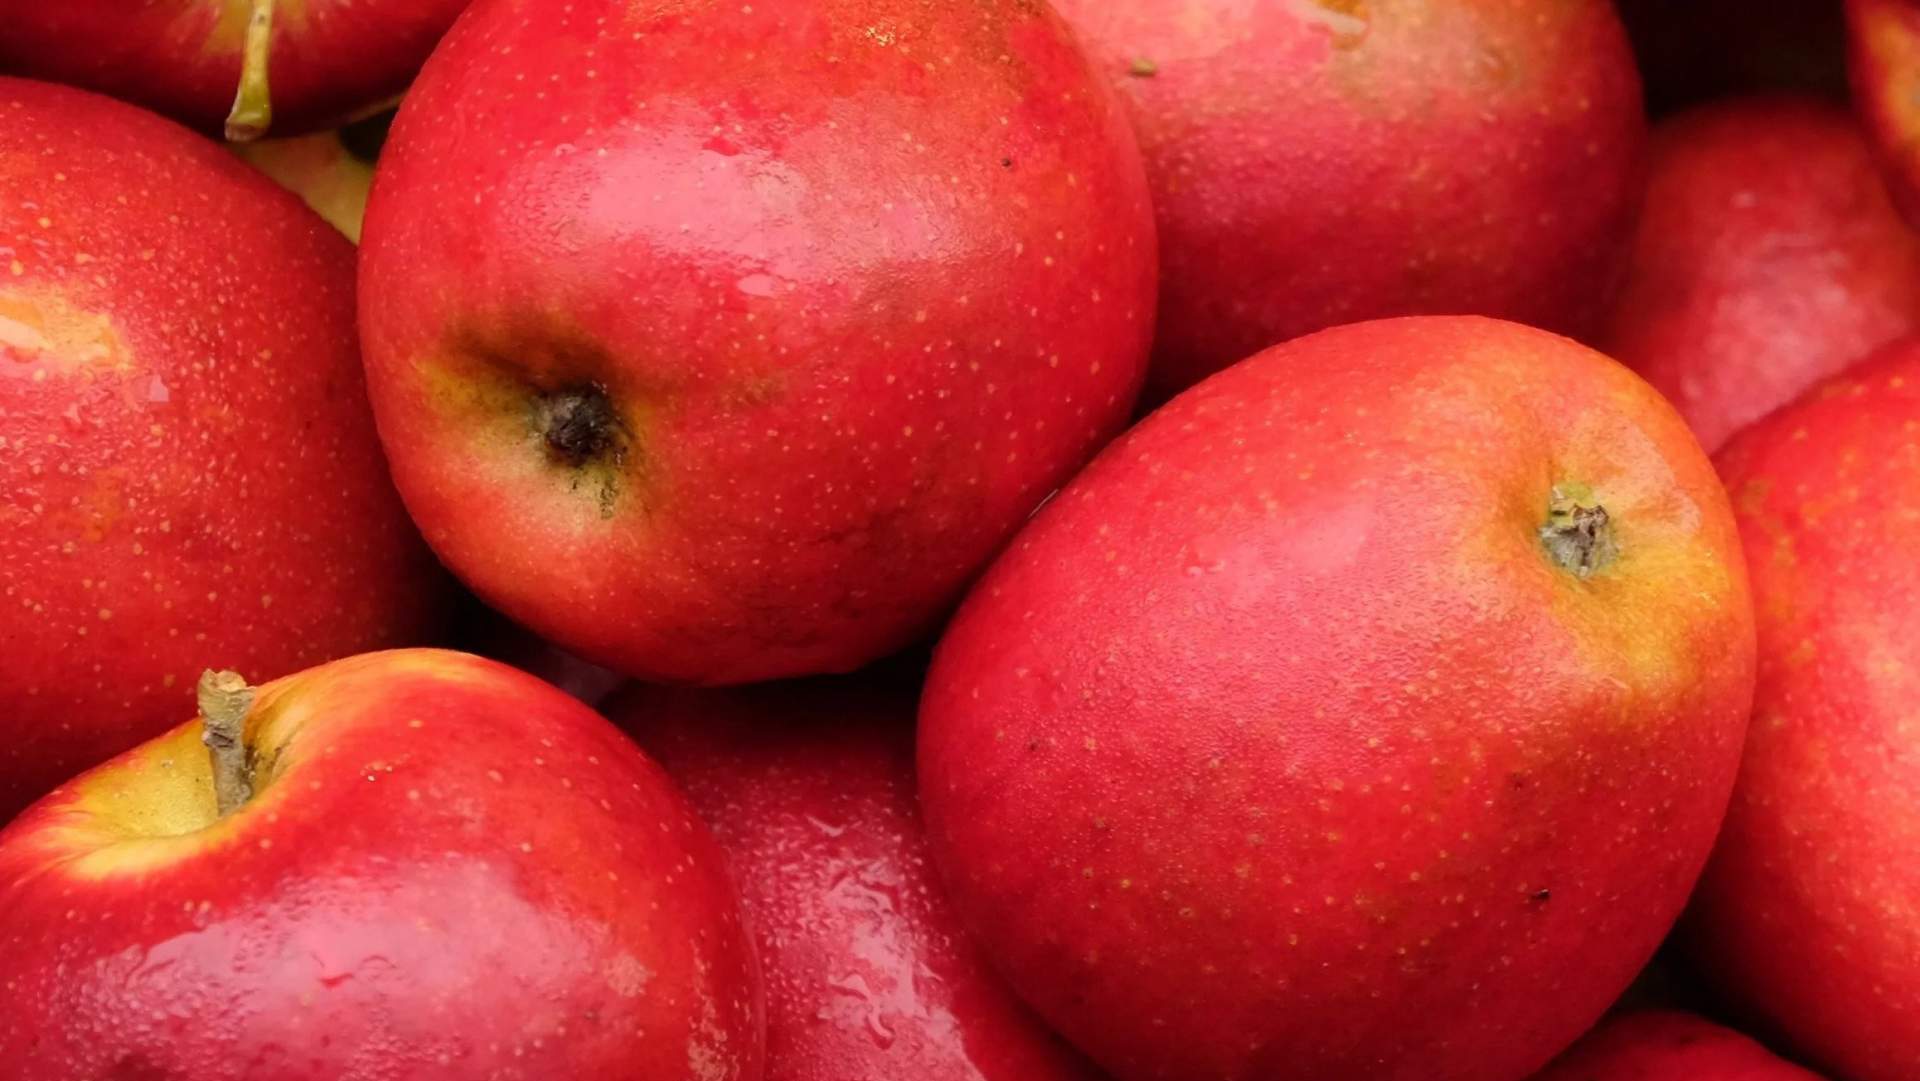
- Get some juice. If you want to use some fancy organic cloudy stuff, go for it, but believe it or not, some of the best stuff to use is those cartons of Sun-Rype apple juice from the supermarket. It usually costs around a dolllar per litre and it works really well. Doesn’t matter if it’s from concentrate or not. Get a case or two when it goes on sale. If you want to press your own apples, get some campden tablets to kill off any nasties in that juice. Wait a day or two, top up with Sun-Rype if you like. Regular juice with no additions should make cider between 6-7% ABV.
- Sanitize a fermentation vessel. This can be a bucket from Home Depot, a carboy, or even a one-gallon juice jug.
- Half-fill the container with juice.
- Add fermentable sugar. This can be anything glucose-based: white or brown sugar, honey, maple syrup, dextrose, golden syrup, whatever you like! Each pound of sugar added to a 20-litre batch will give you about an extra 1% alcohol. Don’t exceed one pound of sugar per gallon of juice, or the yeast won’t be happy. It will make the juice very sweet but the yeast will rip through all that sugar so it will be very dry and boozy at the end. Tip: Dissolve the sugar into some juice in a pan over low heat first. We don’t want undissolved sugar in the fermenter.
- Add nutrients. Cider has very little protein, so the yeast needs a little help. DAP works well, but any kind of yeast nutrient will help. It’s pretty cheap to buy at your local homebrew store. This stage isn’t essential but will help. One teaspoon of nutrient in 5 gallons is good.
- Top up with more juice. Keep a couple of cartons for later.
- Do not add any other flavours at this point. Adding herbs and things can affect the yeast and you’ll often get weird/yucky things happening.
- Add yeast. Pretty much any yeast will do the job but choosing the right one will make a big difference. “Champagne” yeast (EC-1111) will work very well but there are some great cider yeasts available. I like working with Mangrove Jacks M02 but anything that has a low sulphur profile will do.
- Give it a good swirl to mix it up, this blends everything and adds oxygen for the yeast. Take a gravity reading now if you want to know the ABV later.
- Cover loosely or use an airlock. Move the cider somewhere quite warm (25–30C if possible) for a few hours to kick off fermentation. Once it starts to bubble, move it somewhere a little cooler (15–20C). We don’t have to be exact; cider is very forgiving.
- After 24 hours of bubbling, add another teaspoon of nutrient and mix well.
- Keep the airlock clean and full of water. Check each day for activity and spills.
- Over the next few weeks, you may notice a slight sulphury, musty smell. This will evaporate over time.
- When it starts to drop clear and bubbling slows (usually around the two-week mark), try to move it somewhere cool for a week. Check your finishing gravity to get an ABV reading; it should be close to 1.000.
- Taste it! At this point, you might feel a little deflated because there’s not a lot of apple flavour left and the residual sweetness is low (depending on the yeast you use), giving it a thin, watery taste. If possible, take the cider off the yeast cake. You can dump another batch of juice directly on to the yeast cake; if you do it within a few hours, the chance of infection is quite low. Add nutrient as usual to the new juice and you’ll have another batch ready in a few weeks.
- Backsweetening is where we add flavour back into the cider, using fresh juice or concentrate. Add the two remaining cartons of juice. You can also add any sugar, stevia, a flavoured syrup (pear works well). Just be careful of the sugar-free syrups; they can curdle with the alcohol. If you add sugar or fresh juice, the yeast in suspension will start re-fermenting. This can be useful for bottle conditioning your cider.
- Add your herbs and other flavours. You can do this to taste and do many different versions from the same base.
- Bottle your cider. I find 2-litre PET bottles work well. Add a cup of fresh juice, then top up with cider, seal and put somewhere warm for 48 hours, then transfer somewhere very cold until it drops clear.
Enjoy your cider! That’s it! This makes a great base for a punch or summer sangria. Cider can be stored for a few weeks and will often improve at first but may start to deteriorate after about 3 weeks unless you’re keeping it cold.
This Post Has 0 Comments